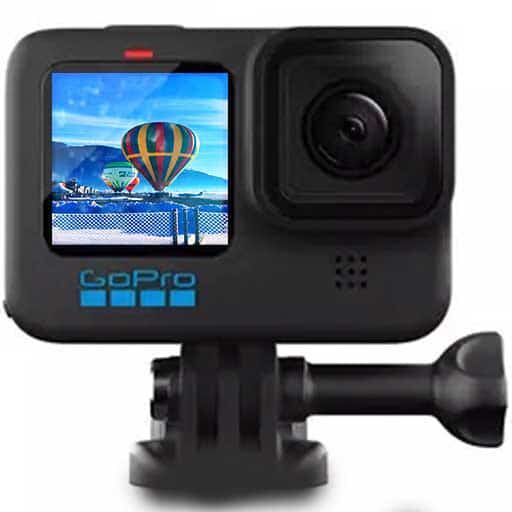
Insta360 Go 2 Unboxing – Box Contents
Receiving a new action camera is always an “event” and I enjoy taking my time opening the box. Here I share with you my Insta360 Go 2 unboxing and what’s inside along with the Go 2 camera.
Go 2 Box Presentation
I’m going to spend a moment talking about the actual presentation of the Insta360 Go 2 camera within the box itself.
I’ve purchased 3 of the latest Insta360 cameras this year. All the cameras have been beautifully boxed. However, I really felt the Go 2 was very cleverly integrated into the box itself along with all the accessories.
The box is in the same basic style as both the One RS and the Insta360 X3. It’s just a matter of carefully slicing through the clear film with a sharp object. Then gently lift the upper lid section of the box away from the base.
How The Go 2 Is Held In Place Inside The Box
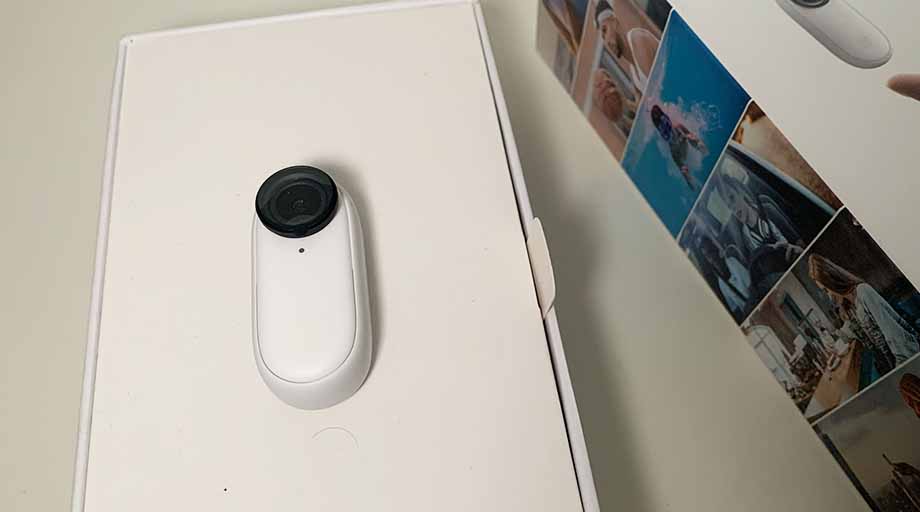
With the top of the box removed. You are presented with the Go 2 camera sat neatly in the middle of a white piece of card. “Think Big” is printed in a light sans serif font subtly underneath the camera.
How is the camera just sitting there with no insert to hold in place you immediately think? Well, of course the answer is magnetism.
Insta360 placed the magnetic pendant directly below, which is very cool in my opinion. Even Peter McKinnon remarked on this when he unboxed the Go 2 on his YouTube channel.
What’s Inside The Box
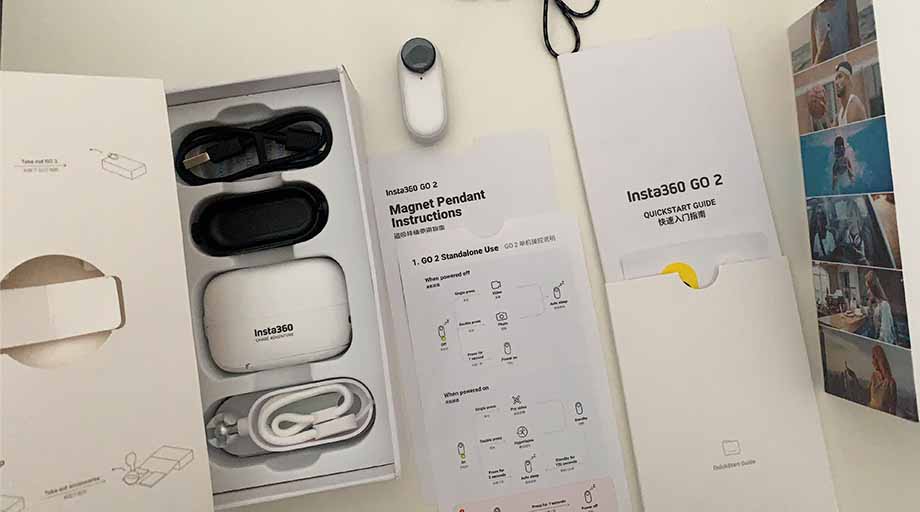
Ok, so now the Go 2 camera itself has been carefully put aside for the moment. We get to delve deep inside the box to see what’s further inside. There’s quite a bit tucked away in the recesses of the box to discover.
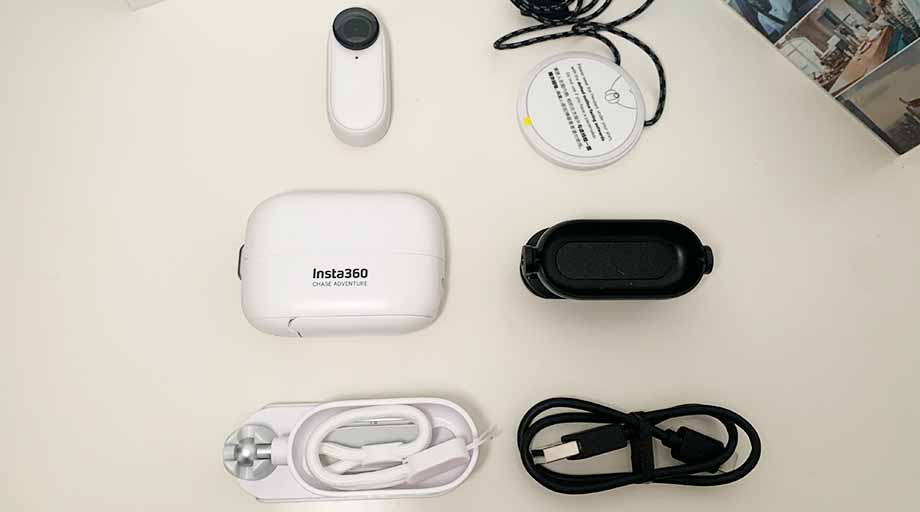
Below is a comprehensive list of everything you’ll find in the box.
- Documentation
- Insta360 adhesive stickers
- Charge Case
- USB-C Charge Cable
- Magnetic Pendant
- Clip
- Swivel Mount
Documentation
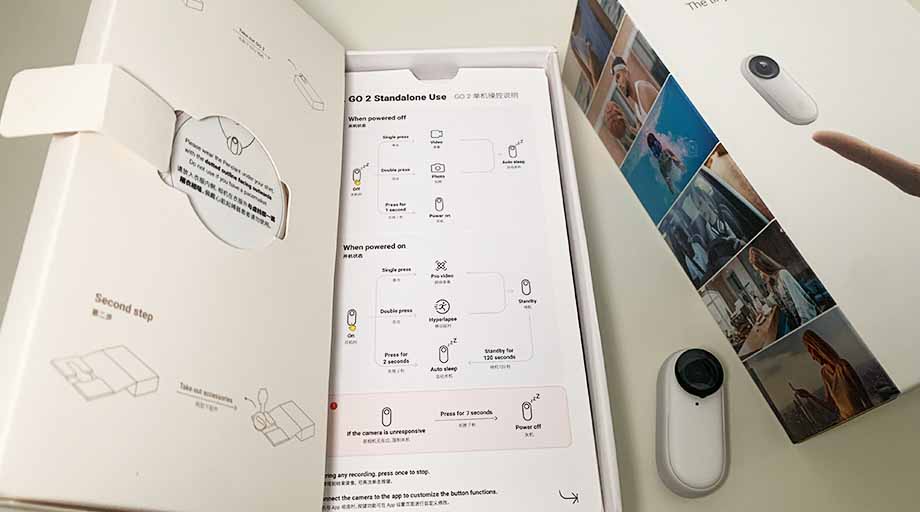
For some, let’s start by looking at the least interesting part of the contents. Some of you may spend the next hour reading, although I guess most of you won’t.
The Go 2 isn’t particularly complicated to set up if you have prior knowledge of action cameras. Although I suggest if it’s your first action cam then take your time working through the quick start guide at the very least.
Charge Case
The hub of the Go 2 is the charge case which has an almost “egg’ style aesthetic to it. The case opens via a metal hinge into 2 sections. The Go 2 camera sits inside the top section held by a magnet.
The bottom section of the charge case has a small LCD display and two buttons directly below.
The buttons allow you to change the camera modes and adjust the settings for each. This can also done by using the Insta360 app on a smartphone too.
At the base of the case you’ll find the USB-C charge port, plus a ¼ x 20 thread insert. The thread insert lets you mount the case with the camera inside to a selfie stick for example.
Ancillary Mounts
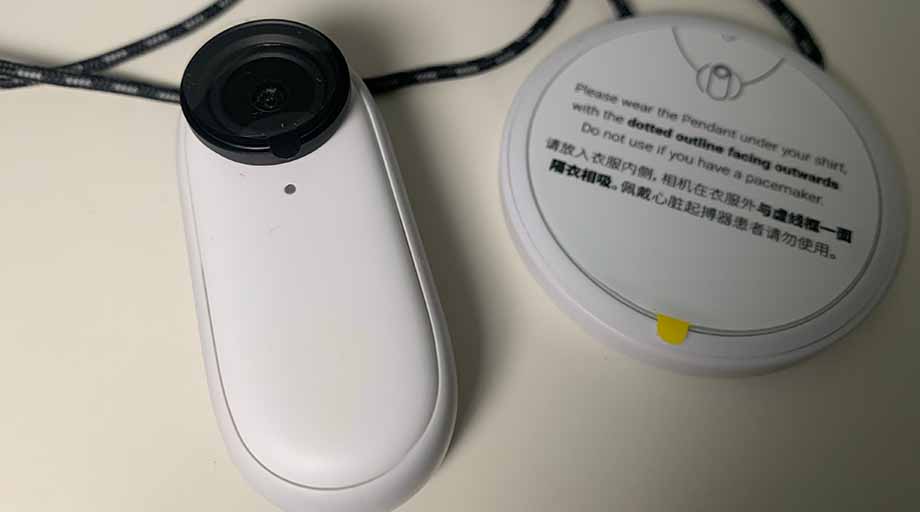
The Go 2 comes with 3 types of mount attachments. The magnetic pendant, a clip mount, plus a swivel mount.
The pendant can be worn around your neck which makes it ideal for capturing POV shots for any activity using your hands. I’ve used the pendant for motovlogging and in particular Alpine skiing.
The clip mount is great for attaching to a baseball cap, again providing a point of view style shot.
Lastly, the swivel mount has an adhesive base that can be reused by wiping clean with a damp cloth. The metal ball socket swivel let’s you adjust the Go 2 lens angle for a whole range of video filming content.
Final Thoughts
This is the third Insta360 action camera I’ve had the opportunity to get my hands on and of course open the box in the last 6 months. Out of the 3 cameras the Go 2 was the most interesting to unbox.
Personally, I’d like to have seen a “GoPro’ style mount adapter included with the accessories. This means you’ll have to buy the mount adapter bundle if you want to use the Go 2 for more action sport content.
