Insta360 One RS Mounting Bracket
The Insta360 mounting bracket comes supplied in the box with both the One RS 4K and 360 Edition cameras. For those who are new to these action cameras from Insta360 the way in which the bracket works may seem a little unusual.
In this article I take a look at how the mounting bracket integrates with the camera and accessories, plus I share a few tips to maximise creativity and work flow.
What Is a Insta360 Mounting Bracket
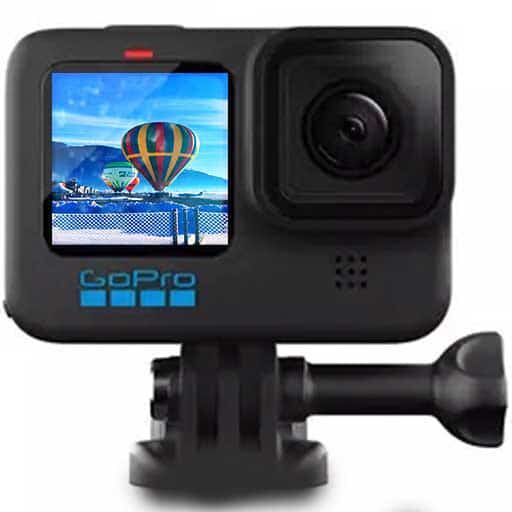
Being a modular action camera, the Insta360 modules don’t have a mounting fixture unlike a GoPro Hero 10 or new 11 with their folding mount fingers.
So for the One RS to be able to mount to a selfie stick, tripod, suction cup mount. The modules require a form of mounting bracket.
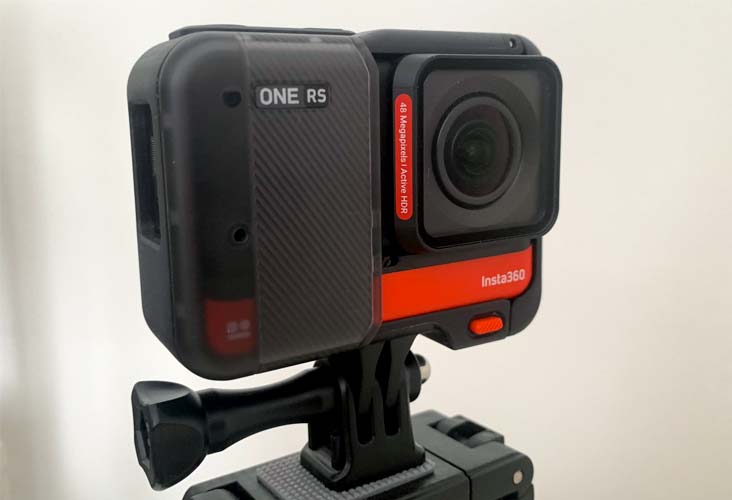
Once you have clipped the 3 camera modules together whether it be the Core Module with the 4K lens or 360 lens module, plus the battery base. The 3 assembled components that make up the camera can then be housed inside the bracket.
Mounting Bracket Specification
Material: Polycarbonate, Glass-Filled Polymer.
Dimensions: 78.3×60.9×28.9 mm (3.1×2.4×1.1in)
Weight: 34.8g (1.2oz)
Mounting Bracket Features
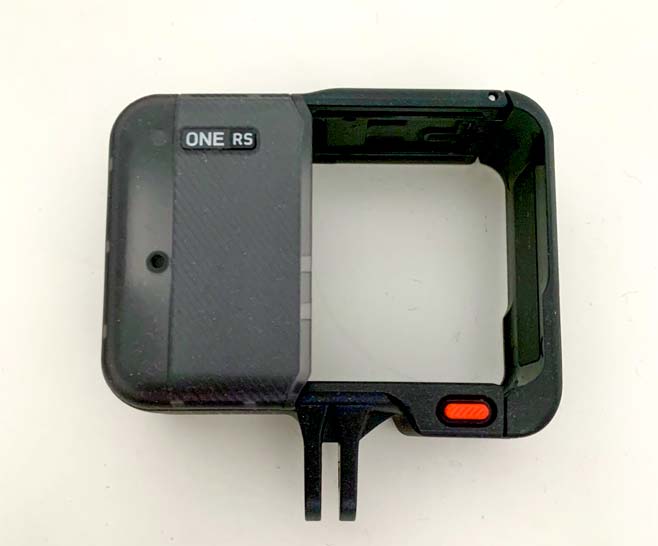
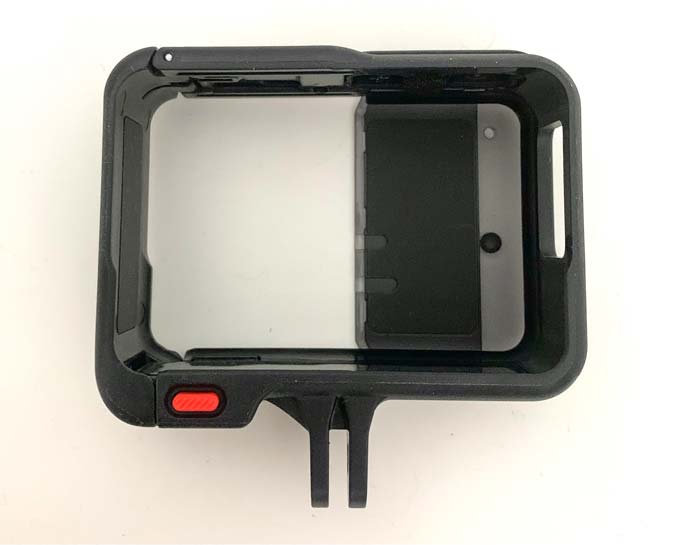
The mounting bracket has a quick release button that opens the side opening of the housing.
The bracket provides protection to both the Core Module and lens with its polycarbonate construction.
A heat dissipation panel to help keep your camera cool when recording 4K 60 frames per second video for long durations in high ambient temperatures.
To help with wind noise reduction while recording outdoors, there is a built-in microphone windshield as an integral part of the brackets design.
USB Port & SD Card Slot
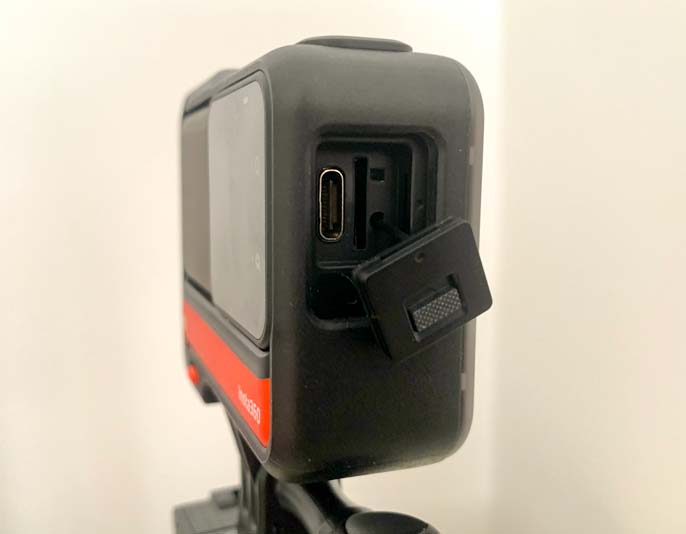
To access the USB-C port and micro SD card slot in the Core Module there is a cutout which allows you to open the port cover.
How To Install & Remove The Camera

Follow these steps and you’ll be able to install and remove your Insta360 One RS from the mounting bracket with ease.
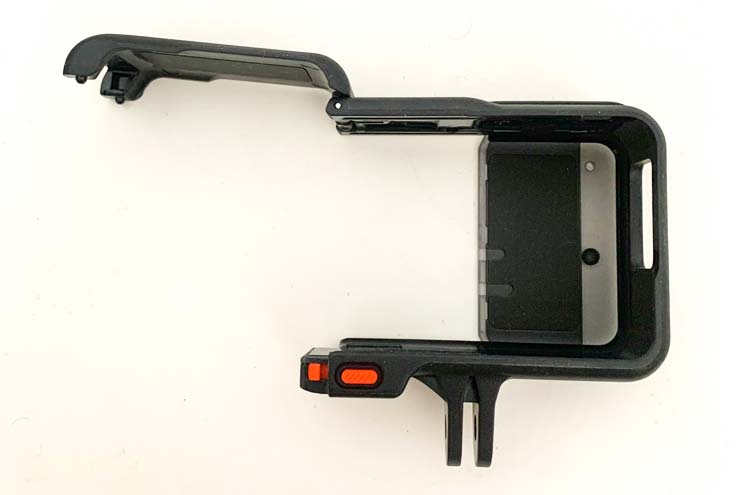
- Press both sides of the quick release red button to unlock the side door.
- Swing the side door into the up position to fully open.
- Take the camera and place it next to the opening of the bracket.
- The camera must be inserted in the correct orientation, see step 5.
- Ensure the lens mod is forward most in the bracket with the core last.
- Gently push the camera mods fully inside the bracket.
- Close the side door until you hear a click sound which tells you the bracket is locked.
Using the 1/4″ Camera Mount Adapter
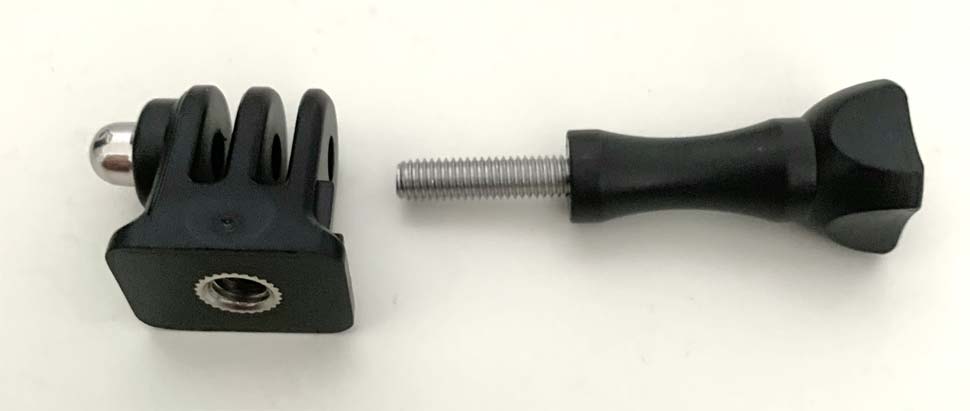
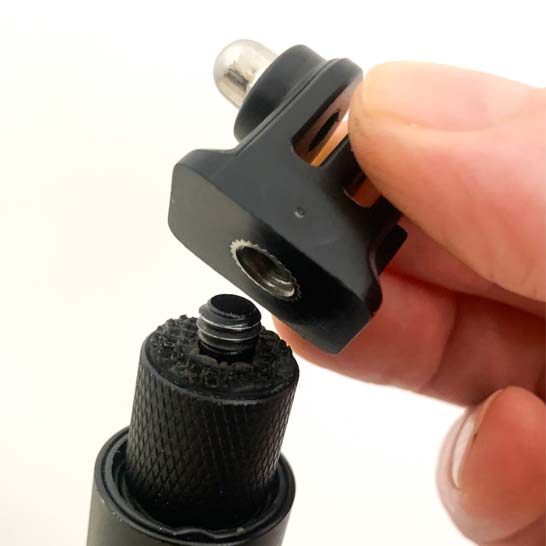
At the base of the bracket you’ll notice two “lugs” or fingers while holes in each. These insert into the ¼” mount adapter supplied with the camera.
The ¼” thread insert screws onto any mount with a ¼” thread. Shown in the picture is the Insta360 invisible selfie stick.
Use the thumb screw to tighten the bracket to the adapter. If you look at the picture above you’ll see the thumb screw is on the opposite side of the side door.
My top tip is to ensure you have the thumb screw on the opposite side of the bracket side door. In doing so, it makes it a lot easier to remove the camera from the bracket if you wish to swap lenses or simply remove the camera.