GoPro Max GPS – How To Use With Your Camera
In this article I take a look at the GoPro Max GPS feature. Being an avid skier I always have GPS switched ON as it provides great feedback to how I performed on the mountain.
You can of course use GPS for any action packed activity, whether its sailing, mountain biking, kayaking and so on. Even for people who explore cities on foot with their GoPro there is a great feature to use as part of the GPS telemetry, read on to find out.
Hero Mode & 360 Mode
As you have probably gathered by now, the GoPro Max 360 camera does have GPS. However the GPS connection only works in Hero Mode.
Hero Mode
For those who aren’t familiar with the Max 360 camera, you have the choice of recording video and photos in either 360 Mode or Hero Mode, the latter being a flat / traditional format using only one of the Max lenses.
360 Mode
Although the GPS Menu option appears in 360 Mode, the camera doesn’t store any GPS embedded into the Meta data of Max 360 captured footage.
In summary, if you wish to use GPS with the GoPro Max 360 camera, Hero Mode is the one to choose. This will allow you to overlay GPS stickers onto video footage.
How To Turn ON GPS WIth The GoPro Max Camera
The process of switching the GPS to ON is relatively simple. Follow these 7 steps to ensure your Max camera is ready to capture GPS data.
- Switch the Max on by holding the power button for a brief moment.
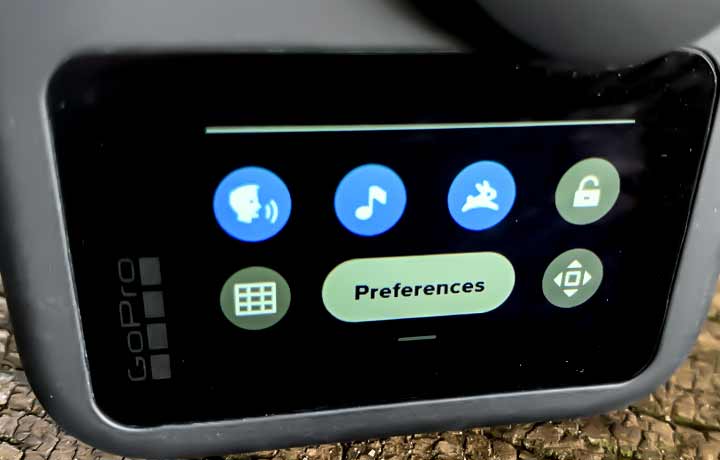
- With the camera powered up. Swipe down on the rear screen.
- Tap the [Preferences] icon.
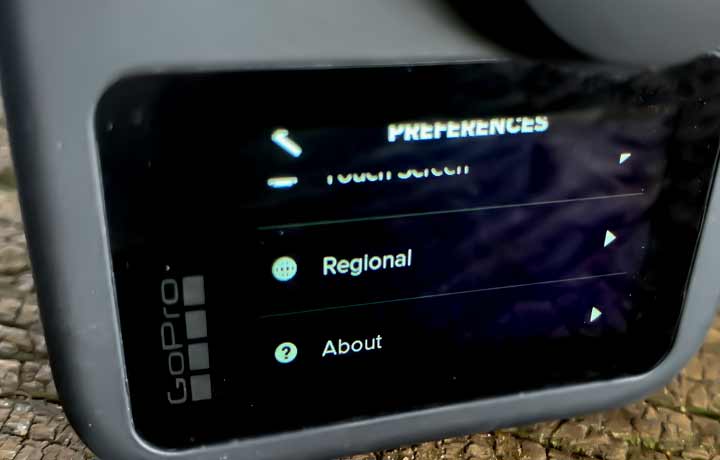
- Scroll down to find the [Regional] menu setting.
- Choose the [Regional] setting by tapping the screen.
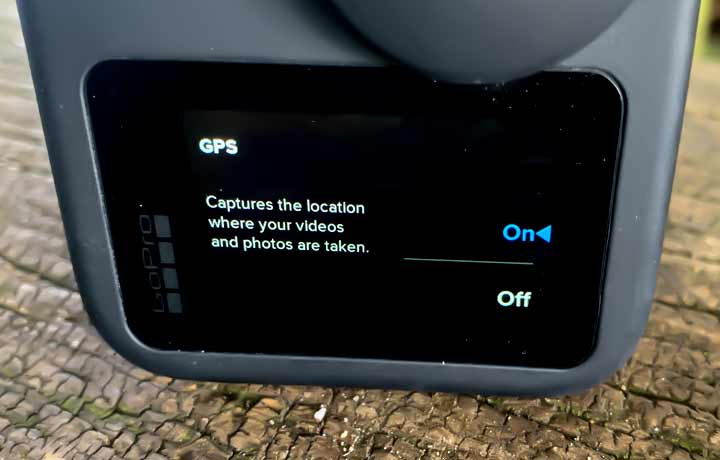
- Select [GPS] on the LCD screen.
- Switch the [GPS] setting to ON.
Remember the GPS data is only stored while the Max is set to Hero Mode.
Connecting The GPS To A Satellite
If you followed the 7 steps earlier the camera is now ready to receive GPS data from a satellite. However, there is one final consideration.
The GoPro has to now connect to a satellite. This may take several minutes. For the quickest connection it’s best to be outdoors in an open space. Hold or mount the Max 360 with the top facing upward towards the sky.
Standing next to tall buildings can affect the connection between the GoPro Max and satellite. A field or similar open space is ideal to achieve a signal lock. You may have to follow this process again if you enter a building which may cause a loss of signal.
GPS Icon
To ensure the camera has made a connection to a satellite check the GPS icon before recording footage.
The GPS Icon can be found on the Max’s dashboard by swiping down to reveal the dashboard and followed by a further swipe down on the LCD screen. When a signal lock has been achieved the Icon turns to a highlighted solid white (See picture for reference).
Telemetry & GPS Stickers
Once you have a micro SD card with footage stored containing GPS metadata it’s time to overlay those telemetry stickers.
The Quik app which is the official GoPro app for editing and sharing creative content is where the process of adding stickers takes place.
Quik reads the GPS metadata stored in the video and picture files and translates this data to visual representations.
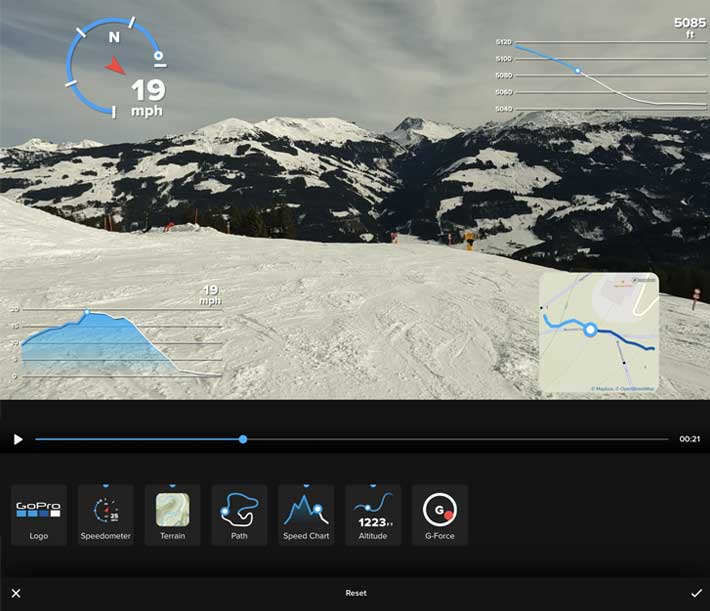
There are 7 stickers to choose from including the official GoPro brand logo. Tap one of the sticker Icons to overlay to footage.
Successive taps move the sticker from top left to bottom right in 4 steps. This allows you to have 4 stickers on screen at once without overlapping the stickers.
Listed below are the telemetry stickers currently available:
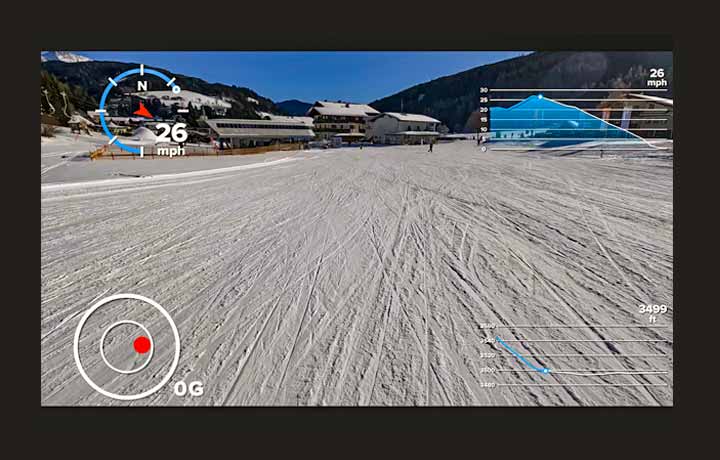
- Speedometer – Includes a North heading and directional arrow.
- Terrain – Displays a GPS map of your location that updates over time.
- Path – Shows the path in which you traveled while recording the video.
- Speed Chart – Linear graph of speed over time.
- Altitude – Displays a linear graph over time.
- G Force – Represents G Force experienced by way of a target style icon.
Final Thoughts
For those who take part in dynamic action sports, stickers are a great way of seeing how you performed in your chosen activity.
As a skier I tend to use the speedometer, altitude and G Force to attain feedback on ski runs down the mountain with the Max mounted to the front of my ski helmet.
The terrain sticker overlay is very useful for hiking or urban exploring as it shows you exactly where you are via a GPS map icon. This updates in real time as you walk around with the GoPro Max on record.
In summary, the telemetry stickers are a really useful feature to have. I’d suggest always having the GPS switched to ON, although it does drain the battery a little. However the benefit of having GPS data offsets this in my opinion.