
LumaFusion Video Editing Accessories For iPad Pro
The iPad Pro will edit videos straight out the box all by itself without any problems. However, to improve the workflow and experience let’s take a look at LumaFusion video editing accessories for iPad Pro users.
Cases & Protection
The first consideration for any new iPad Pro user is to add some form of protection to the tablet with a case or cover.
There are many different styles of case and covers to choose from. When using your iPad to edit videos there are several specific features to look for in a case.
Where you intend to spend the most time editing videos has a bearing on the type of case. If you’re the type who uploads edited video clips to social media while on the move. Perhaps at the beach or even from a ski hut, you’re going to need a case with higher levels of protection.
Giving some thought to the environment you’ll be editing videos is very important. There is no perfect case for all situations, so you may have to compromise on features if you’re looking for a case that suits a variety of uses.
My 6 key features to consider when buying an iPad Pro case are:
- Level of protection. Whether the case offers protection against dust, water, snow proof.
- Drop tested. The toughest cases are drop tested up to 6 feet.
- Materials used in construction of the case.
- Weight. The size and added bulk of the case if you plan on traveling with the iPad.
- Integral keyboard and trackpad.
- Ease of cleaning.
Stand-Up Case
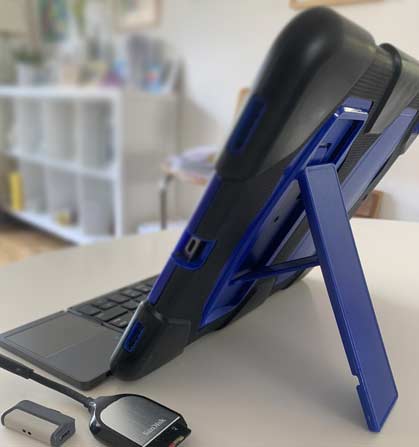
Currently I have my iPad Pro encased inside a heavy duty case with an integral stand. It may not be the most attractive case aesthetically. However, the case offers great protection and practicality when it comes to editing videos in LumaFusion.
I spend a lot of time editing videos while traveling. I like to pack my iPad in a daysack along with my action cameras so I can upload short video edits to social media quickly.
Alternatively, I edit longer form video content sitting in a quiet room with the ipad standing on a table. In essence, the stand-up case gives me this flexibility to edit videos in a range of environments without having to switch the case over.
Folio Case
I have owned a folio style case with an integral keyboard previously. For those of you who are unlikely to ever take your iPad outside, the folio case is a good option to choose.
I found this style of case was too much of a compromise for my use so I switched to the rugged stand-up case along with a separate Bluetooth keyboard.
Screen Protector
Screen protection is essential for any iPad. Replacement screens are expensive.
Various iPad cases do have screen protection built in. Personally I prefer a separate quality screen protector. This allows you to change the screen protector if necessary without having to also replace the case as well.
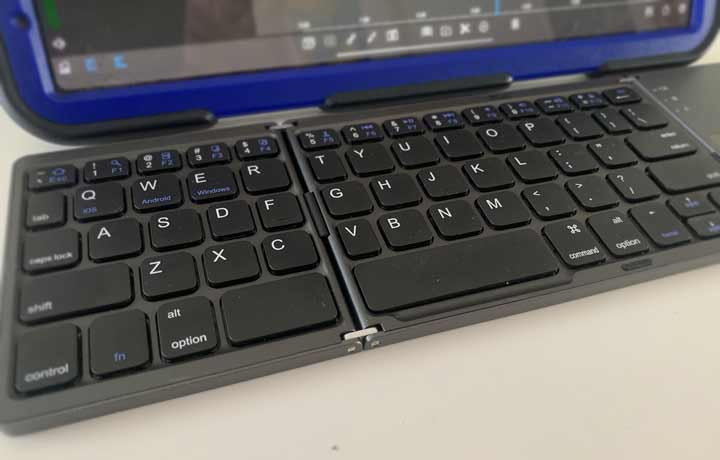
Bluetooth Keyboard
A Bluetooth keyboard not only speeds up the video editing process but also the workflow in general for most tasks and work carried out with an Apple tablet.
As with the case, there are many different types of keyboard to choose from. I have opted for a folding Bluetooth keyboard with a trackpad which slips into a daysack easily.
LumaFusion does use a lot of keyboard shortcuts as part of the basic video editing workflow. Holding the Cmd key brings up the list of shortcuts at the bottom of the screen. Knowing just a few of the basic shortcuts really does improve the video experience in my opinion.
Stylus Pen
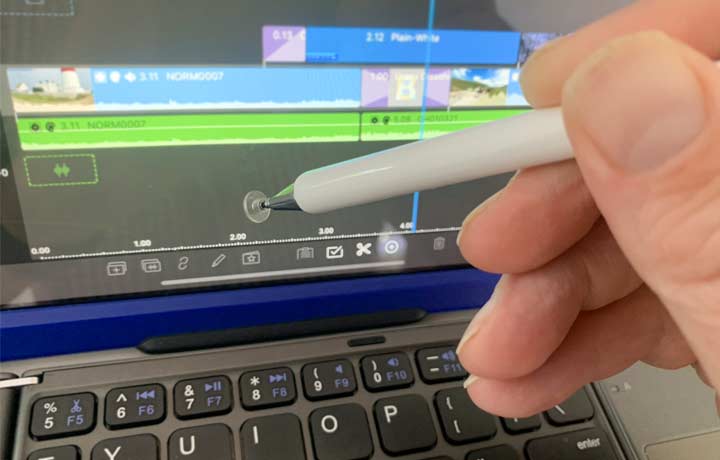
I’m aware this isn’t for everyone, however a stylus pen along with a Bluetooth keyboard really does improve the editing in LumaFusion when combined.
As with all video editing software, there are many sliders and settings. Using a stylus pen provides far more accuracy when selecting various parameters.
I use a relatively low budget 3rd party pen, so you don’t have to go with some of the higher value pens offered by Apple and other brands.
SD Card Reader
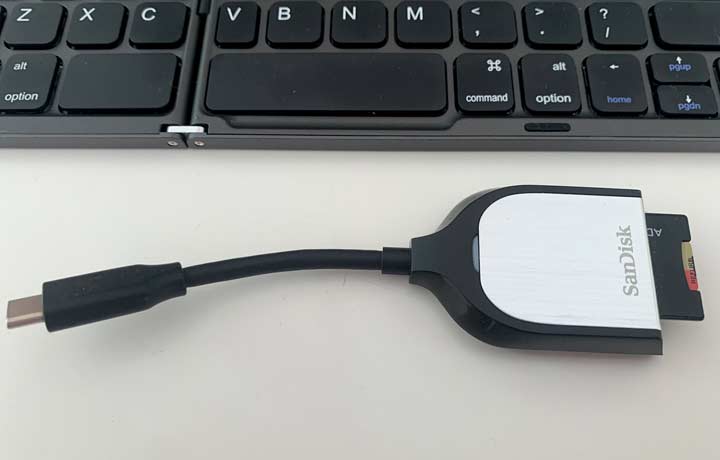
One of the quickest ways to transfer video and photos to an iPad from a GoPro or other action cameras is to use an SD card reader.
Remember the iPad Pro has a USB-C charge port which supports fast transfer rates of data. This is my prefered method of transferring multiple video clips for this reason. Alternately you may use a USB-C lead to transfer your videos and photos.
Sandisk is my choice of brand when it comes to memory card readers, plus micro SD cards for all my action cameras. I use a SanDisk card reader to import 5.3K GoPro video footage to the iPad Pro.
Flash Drive
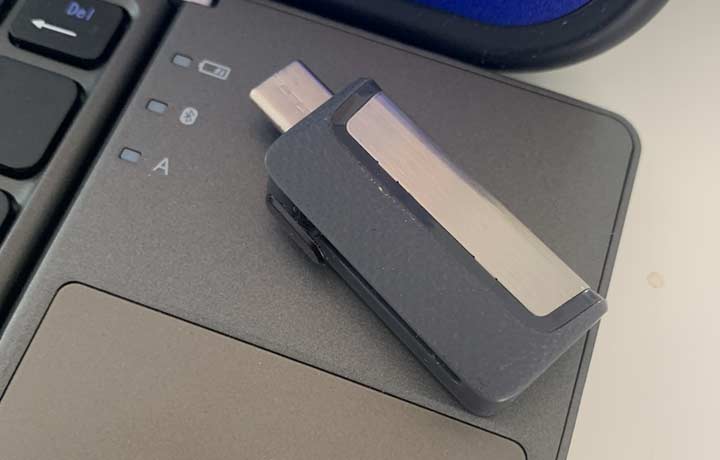
A flash drive is very small compared to other external storage solutions which is great if you’re traveling with your cameras and video editing kit and need to backup data. They come in a range of capacities in terms of Gigabytes (Gb).
The flash drive plugs into the USB-C port and appears in the iPads Files App. It’s just a matter of moving any video files or data directly to the flash drive as backup.
I wouldn’t edit footage directly from the flash drive, I use an external storage drive for that purpose as you’ll see below.
External Storage Drive
The latest Version 3.0 of LumaFusion allows you to edit footage stored onto an external drive. This means that you don’t have to transfer the video footage to the iPads internal storage which is almost always at a premium.
LumaFusion allows you to select the external storage drive as a source for footage. Footage can then be trimmed, color corrected and edited with full functionality as if it were stored on the iPads internal storage drive.
Once the external drive is removed, LumaFusion will display a message saying the clip isn’t available for preview. It’s not until the external drive is plugged back into the iPad that the edit timeline updates. So that is worth to bear in mind in regards to workflow.
Sound Monitoring
When it comes to sound monitoring video edits there’s no substitute to a dedicated pair of traditional audio monitors. The downside being a lack of portability.
If you’re building an edit suite around the iPad Pro at home then plugging a pair of monitors into the iPad is a solid idea. You’ll need a USB-C hub such as this hub available online. The 3.5mm jack lets you use traditional studio monitors such as these.
AirPods
For those who are looking for a more portable solution, Apple AirPods are the route to go down. The reason being is that they have very little lag between the sound and visuals.
Even the slightest lag in connection between the iPad and a pair of earbuds makes editing to the beat of music almost impossible. So that is a real consideration to take into account when considering earbuds for audio editing.
Final Thoughts
In summary, I’ve covered most of the key accessories for editing video footage on the iPad Pro. It’s not a definitive list by any means, over time I will add to this list further accessories that I test in my editing process, so stay tuned.
A word in regards to LumaFusion. I’ve worked with many video editing platforms over the last 20 years both professionally and recreationally. I currently edit all my GoPro Hero 10 & Max 360 footage using my iPad Pro set up.
LumaFusion in its latest form has all the most important editing functionality required to create a whole range of content. Adding accessories to the editing process is certainly worth considering.