Insta360 X3 Video Footage
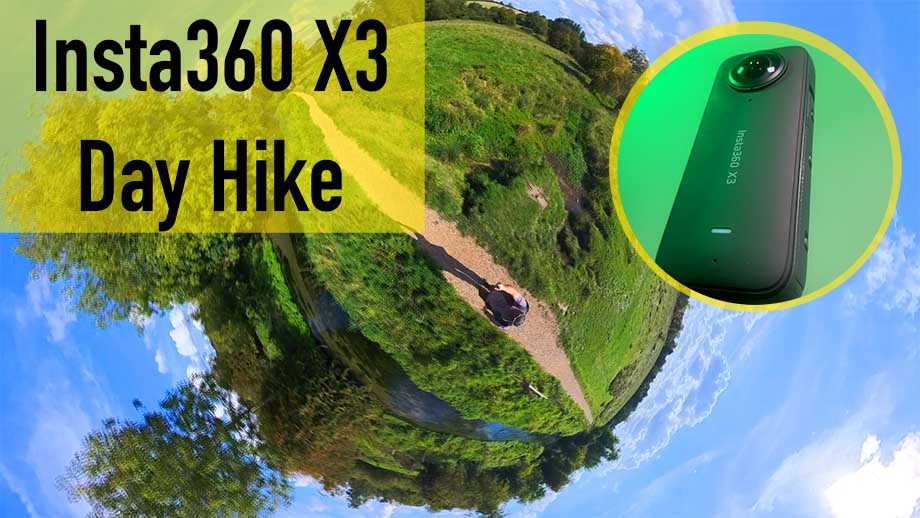
After having some “hands on” experience with the X3 I thought I’d share some Insta360 X3 video footage.
I’ve owned the X3 for over several weeks now and have enjoyed using the camera a lot. The learning curve is quite steep for those who are new to the Insta360 action camera “world”. Having said that, it’s greatly rewarding when you’ve edited your first video with this new action cam.
Filming Location
I enjoy hiking as part of my outdoor lifestyle. I also like to film and document my hikes by using action cameras. The X3 is well suited to creating content while out hiking.
This day’s hike was along a 10 mile stretch along a local chalk bed river. The video was filmed on a sunny, clear September day. The bright sunshine was a real test for the X3.
Parts of the riverbank have wooded areas that provide shade which meant even greater contrast in exposure for the X3 to handle.
Most of the video was filmed in Standard Video mode, with a number of shots filmed in HDR Mode. Let’s take a look at the camera settings.
X3 Camera Settings
For this video I wanted to keep the settings fairly basic. White balance and exposure were set to Auto.
The sharpness was set to high and the bit rate also set to high. It’s worth noting the X3 like all action cameras can over sharpen. It was interesting to see how the video footage looked once edited and uploaded to YouTube in this regard.
For the full settings see below.
- 5.7K resolution
- 30 frames per second
- Sharpness: High
- Bit Rate: High
- White Balance: Auto
- Exposure: Auto
Editing Workflow
I’m going to write a full in-depth article on the workflow I used to edit the footage separately.
In essence, I reframed the 360 video footage by using the Insta360 iOS app. Exported the video clips to Photos app. Then edited the clips together using the LumaFusion app.
Watch The Video Footage
Take a look at the finished video below. Personally I’m quite pleased with the results. Let me know what you think in the comments below or leave a comment on YouTube. Enjoy!

