DJI Action 2 Hiking Video Footage
I’ve documented my hiking exploits for a number of years using action cameras to record videos. Starting this trend, I spent 2 months in Scandinavia capturing my explorations with the GoPro Hero 7 Black action camera.
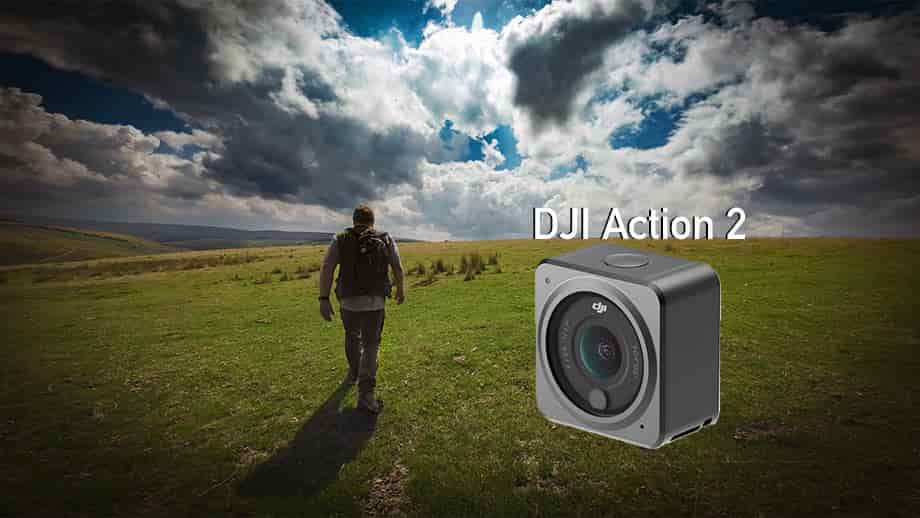
More recently I brought along on a hike the DJI Action 2 so I could record some video shots. In this article I share my experiences of using the camera when capturing 4K video throughout the day’s hiking.
I have included a link to the edited video of the hike shot with the Action 2 further along in this article.
Camera Design
In my opinion the Action 2 isn’t a traditional action camera. It has a rather quirky modular design and difficulty handling extreme temperatures. Having said that, the Action 2 does record quality video if you know how to use it.
Modules
DJI offers 2 combinations of modules. The Dual-Screen and Power Combo modules. I opted for the latter version for this hike.
Power Module
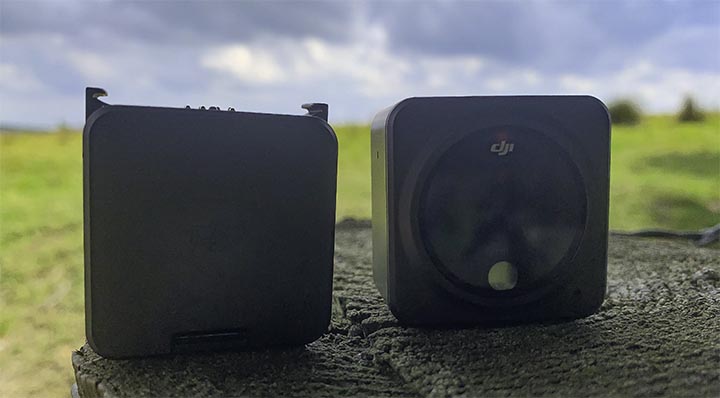
The Power Module as the name suggests provides additional battery power to the camera unit’s internal battery. The module also has a micro SD card slot.
You can either record directly to the internal memory of the camera unit or to the SD card. The internal storage is limited to approximately 23GB of usable space.
Camera Settings
Let’s now take a look at the settings, battery life and some of the video shots I achieved using the Action 2. Starting off with the camera settings used on the hike.
Resolution
The hiking video in this article is filmed in 4K video resolution at 60 frames per second. This is the highest resolution the Action 2 will record video.
Higher frame rates are available at 4K for slow motion shots. The camera will record up to 120 fps in 4K.
The video aspect ratio is 16:9, this being the best aspect for YouTube where the video is available to watch.
Color
I chose the D-Cinelike color profile for this hiking video. The Cinelike profile is more flat / less color saturated. Compared to the Normal color profile.
Capturing video with a more flat color profile allows greater scope for color grading and adjustment in the video editing process.
Exposure & White Balance
For the most part I shot the video with auto exposure. For several shots I manually set the exposure to -0.3EV. This helped some of the higher contrast video shots from being over exposed in the highlights.
White balance for all the footage was set to 5600k. The day of filming was overcast with a few sunny spells. I find 5600k produces the best color balance in these lighting conditions outdoors.
Stabilization
The Action 2 when shooting at 4K resolution has only one option when it comes to Stabilization. For all of the video shots RockSteady was switched to ON.
There is a Horizon lock option at lower resolutions such as 1080p.
Accessories
I get asked this question quite a lot, “What action camera accessories do I use when hiking?”. To answer, I do vary the accessories used, however I have my favourites.
Magnetic Adapter Mount
One of the best features of the Action 2 is the magnetic adapter mount. There’s no thumb screw to unlock. Just line up the camera unit or power module and the magnetic base snaps into place.
Using magnets to secure the camera to a mount makes it so much quicker to attach the camera to various accessories.
The Action 2 comes with a single adapter. Of course you will need additional magnetic adapters which are available separately from DJI.
Selfie Stick
Arguably the most used action camera accessory is the selfie stick. It not only allows you to film yourself but extends the camera for a whole different range of point of view shots.
I use several selfie sticks currently, the Telesin Ultra Long selfie stick and the Insta360 invisible stick.
Backpack Mount
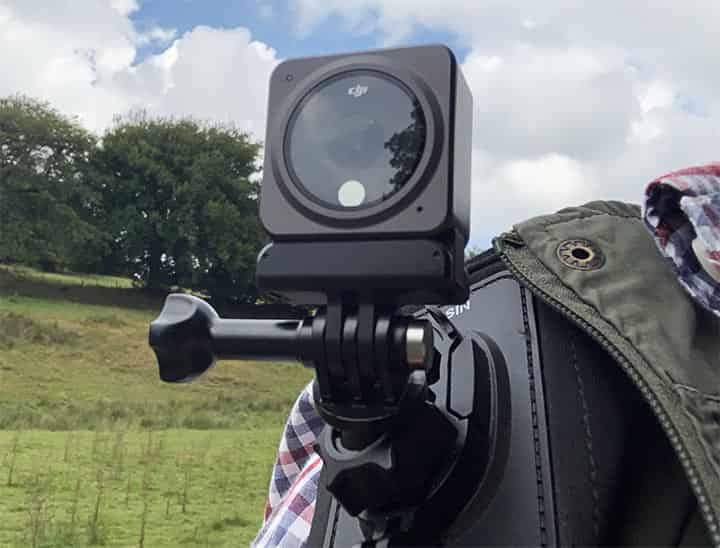
For hiking a backpack mount is great for capturing walking video shots as you explore the landscape.
I tend to have my action camera mounted onto the Telesin backpack mount for the majority of the hike. In doing so I can quickly record sections of trail without having to stop.
Mini Tripod
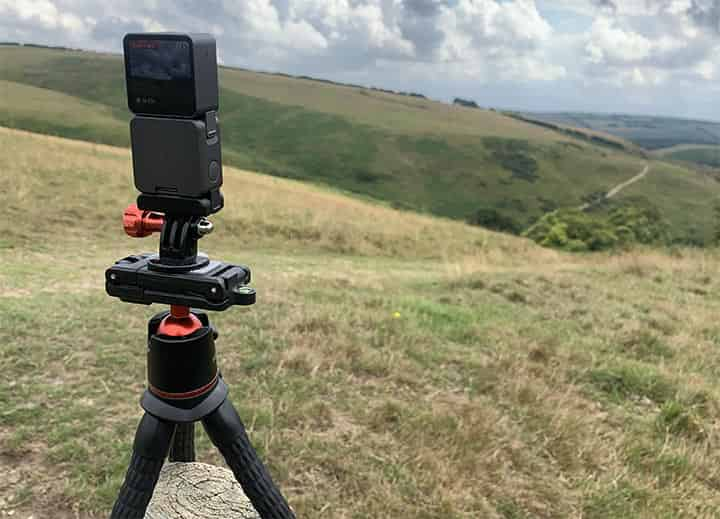
There’s a lot of different options to go with when it comes to mini tripods. I use the Neewer T30 with bendable legs for recording Time Lapse footage.
Alternatively, the GoPro Mini Shorty is a great option if you really want to keep the weight you’re carrying down to a minimum while hiking or trekking.
Video Shot Style
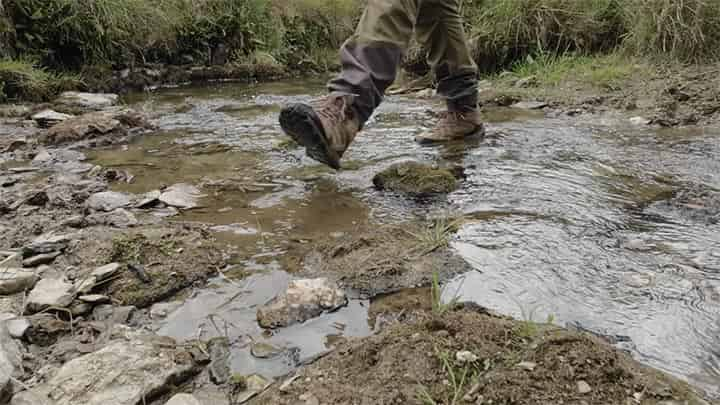
A variety of video shots always lifts the interest value to the viewer and increases the production value. As you’ll see in the hiking video I’ve used quite a number of different shots to tell the story.
Video shots include, low angle moving through frame along with tracking shots of my hiking boots walking across the terrain. Wide shots of scenery, tracking shots while walking and Timelapse footage of cloud formations.
Field Of View
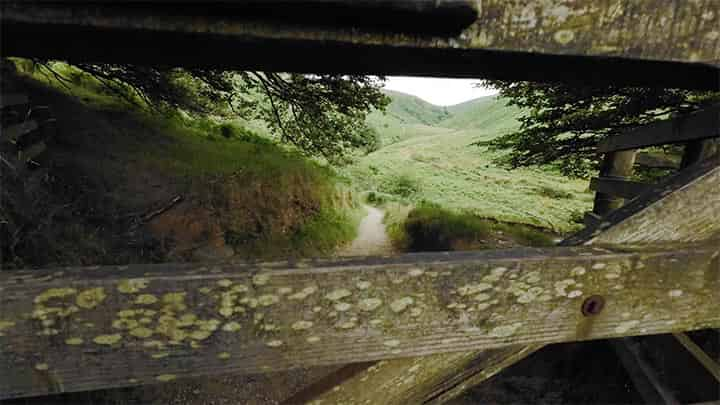
At 4K resolution you have 3 fields of view (FOV) in the camera lens settings. The majority of the shots I record are using the Standard (Dewarp) FOV.
For the walking shots where a “fish eye” effect would detract from the action Standard FOV is favoured. Especially when walking amongst trees.
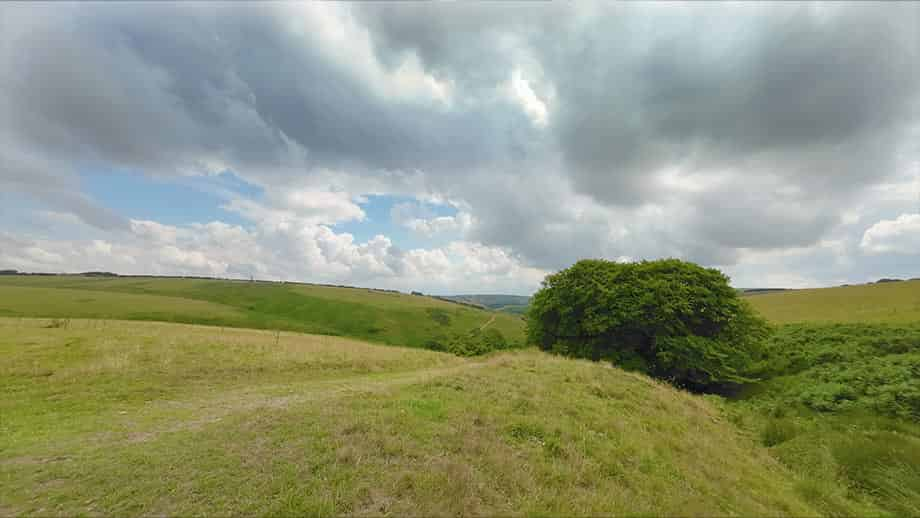
The landscape shots are filmed in both Wide and Ultra Wide.
Battery Life
I started the hike by just using the camera unit. To see the maximum duration of 4k video footage captured using only the camera unit’s internal battery.
Ambient temperature plays a big part in battery life on all action cameras. On this particular day hike the temperature was mid 70s Fahrenheit (22 / 24 Celsius).
I have used the Action 2 while skiing in temperatures far lower. Colder temperatures decreased the battery life dramatically. So if you’re thinking of filming outdoors in winter that is a consideration.
Low Battery Warning
The low battery warning automatically switched the camera unit off. This was at 24 minutes and 53 seconds of 4K 60 fps video.
To achieve this level of battery performance I had the camera screen on 1 minute sleep mode. I also switched the camera off almost immediately after recording a video clip. Therefore the camera spent little time on standby.
Once the internal battery had drained I attached the Power. Module. This allowed me to carry on filming for the remaining hours of the hike.
Final Thoughts
This article covers what I view as the key aspects when it comes to choosing an action camera for hiking.
The Action 2 camera performed well overall throughout the day. There are some downsides, battery life may be an issue in colder weather.
The beep sound is too low, which means it’s difficult to hear in windy conditions. This means you’re not sure if the camera is recording when activated by a voice command.
The big plus point though is the picture quality at 4K resolution along with the image stabilization.
With the new Action 3 just launched you can source its older brother the Action 2 for a very reasonable price.
Below is a link to the video I filmed of the DJI Action 2 hiking video footage. I hope it helps you decide on whether the camera is a suitable option for you. Enjoy!