DJI Action 2 Unboxing
I decided to take a look at the new Action 2 camera to see how it performs against its main rivals from GoPro and insta360. DJI products are always beautifully packaged so I’d thought I’d share with you a DJI Action unboxing.
Opening The Box
The slender box in which the Action 2 comes in is fairly understated, it has to be said. I’ve gone for the Power Module version as you can see from the two modules depicted on the front of the box.
The box opens by pulling the cardboard tab out and hinging the box to the left facing you.
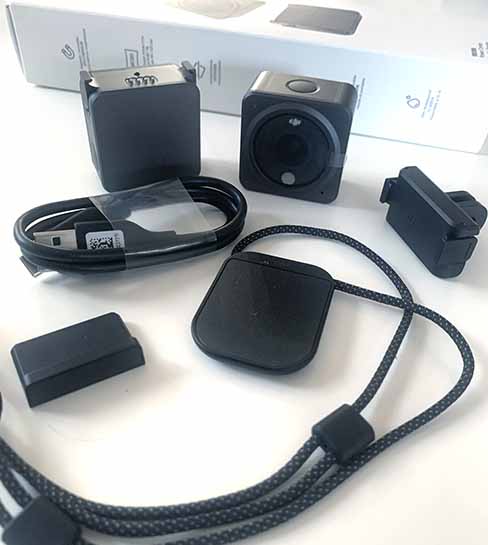
Once inside the box you’re presented with the camera and the power module in this case, plus a separate compartment directly below housing the accessories which I’ll come to in a moment.
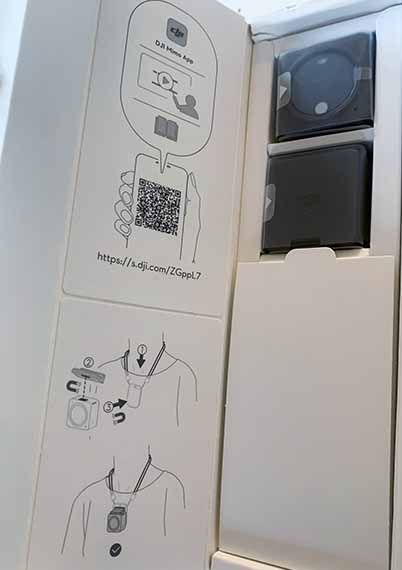
The underside of the cardboard lid has several schematic line drawings. The top drawing indicates that you will need to install the DJI Mimo app to your smartphone.
There is a QR code as well to send you straight over to the installation web page of the Mimo app.
Below is a line drawing demonstrating how the two accessories connect to both the camera and power module.
Inside The Packaging
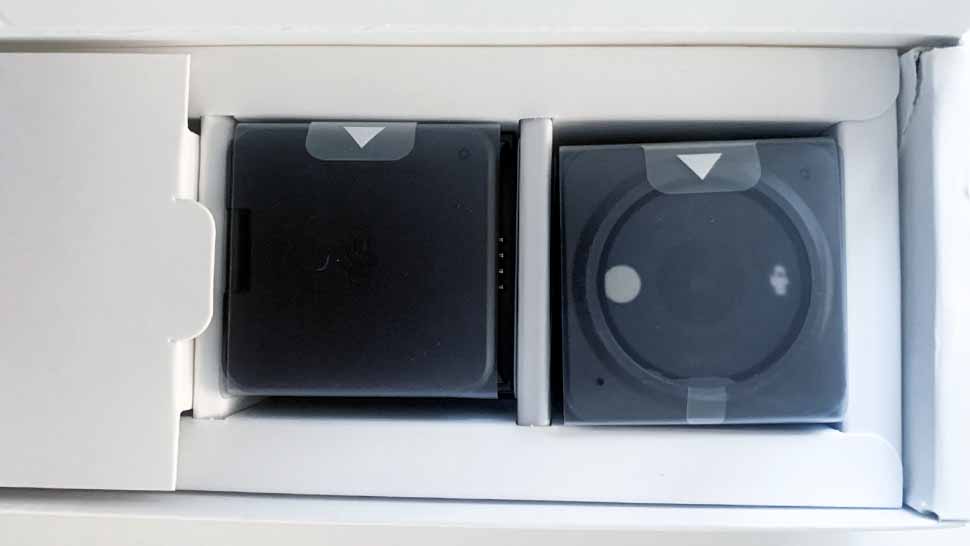
The two modules come wrapped in a protective plastic pouch which is easily opened by pulling the indicated tab at the side.
Both the camera lens and the LCD screen are cover a plastic protector which I’d suggest leaving on until you have set the camera up and fully charged the batteries.
Accessories
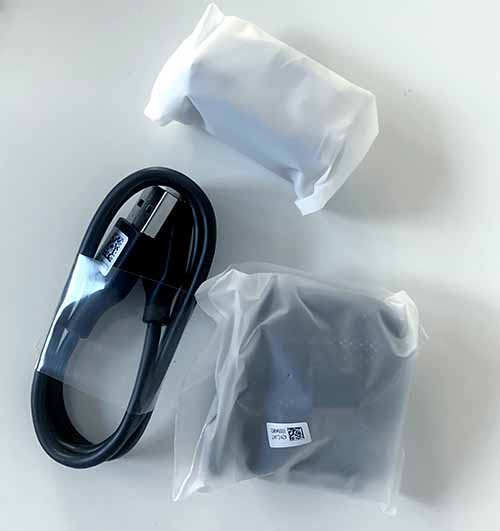
Let’s now open the cardboard flap which covers the accessories compartment of the box. Inside you’ll find the following.
- Magnetic Adapter
- Magnetic Lanyard (2 parts)
- 1x USB Power Cable
The magnetic adapter allows you to connect the camera to any standard action camera mount that uses the “GoPro finger” system.
This will allow you to mount the camera to a ski helmet or selfie stick as an example.
A lanyard also comes in this package, which is in two parts. The lanyard itself which goes around your neck and a magnetic base plate that sits on the outside of a jacket holding the camera in place.
Always good to have an extra cable, so there’s a USB-A to USB-C power / charge cable supplied. Great to see USB-C being implemented here instead of micro USB.
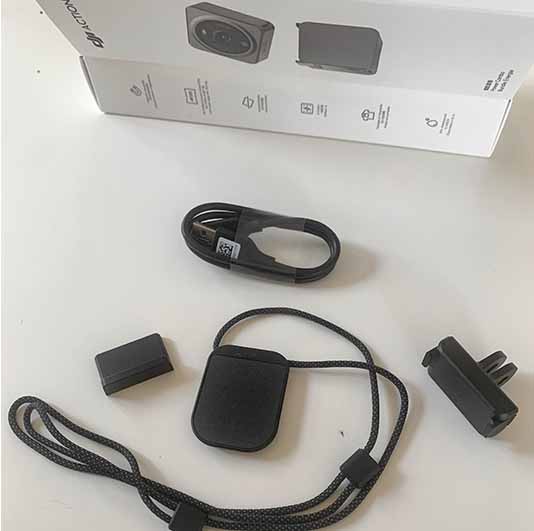
Box Contents
Quick Start
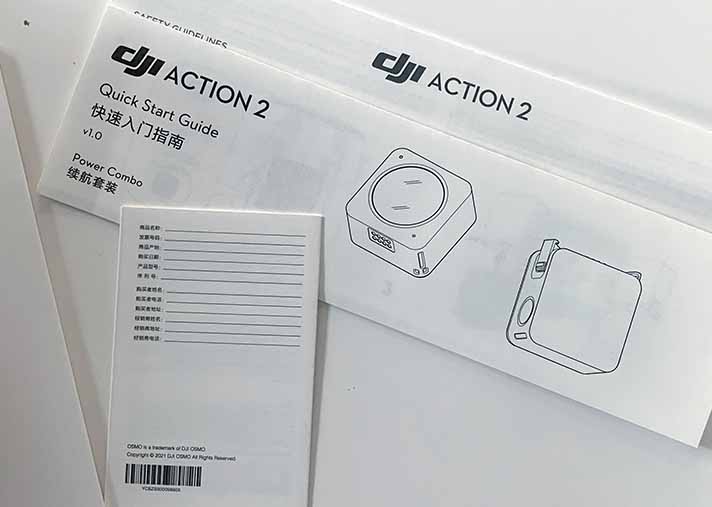
A quick start guide in multiple languages comes inside the box which is useful for those who are new to action cameras and in particular DJI products.
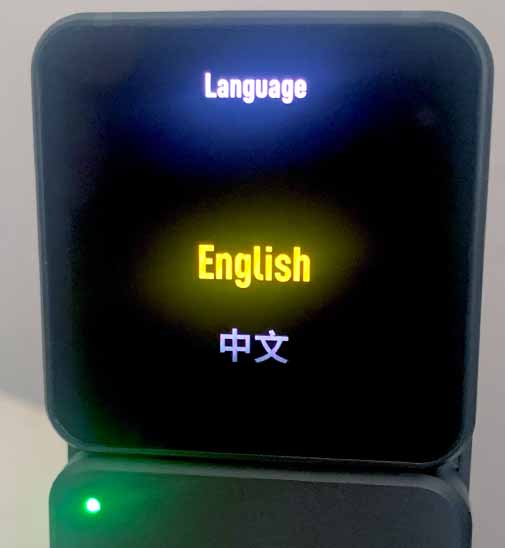
When you first switch on the camera via the main button on the top of the camera module you’ll be asked to select your language. This sets all the menu screens to this chosen language, so make sure you choose correctly.
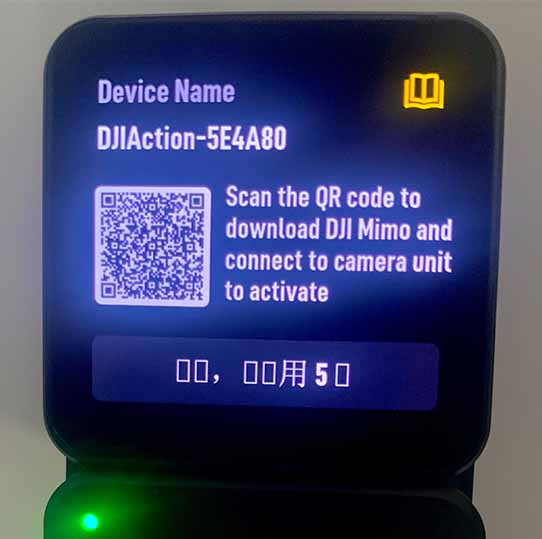
After the language has been selected there is a message to install the DJI Mimo app to your smartphone. A small QR code is present on screen to quickly get to the relevant app download page.
Now all there is to do, is follow the set up instructions in the Mimo app to finish the unboxing process.
Final Thoughts
There you have it, congratulations on purchasing a quality action camera. A camera that I hope you achieve recording some great photos and video footage.
Take a look at the Insta360 One RS 4K Edition unboxing to see how they compare.
To watch some actual Action 2 footage and find out how the camera performs, read my Action 2 hiking article.
