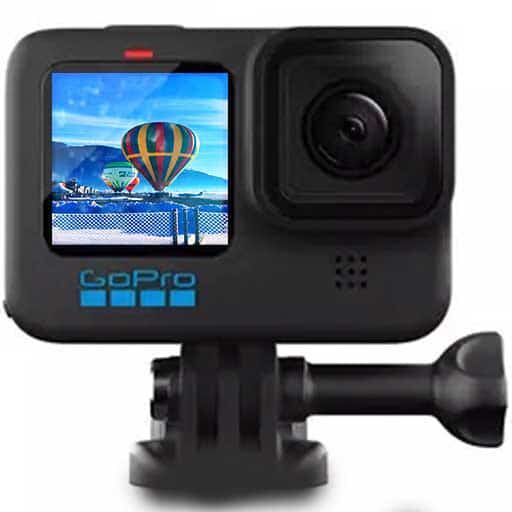
What GoPro Accessories Do I Need For Skiing?
You’ve booked your ski trip, prepared all your ski clothes, skis and boots ready for the slopes, but what GoPro accessories do I need for skiing? you ask yourself.
In this article I share all of the GoPro accessories I take with me on a ski trip. I’m lucky enough to be able to spend most of the season on the slopes so I feel I have a good idea of what to take in this regard.
GoPro Cameras
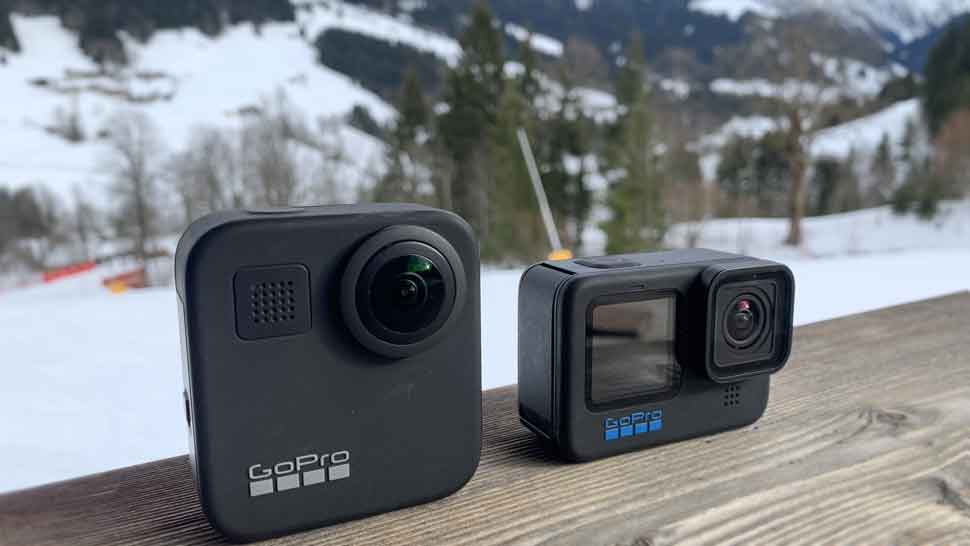
Before we take a look at all the accessories let’s first take a look at the GoPro cameras I take with me on a ski trip
Both the Hero 10 Black and the Max 360 are currently my GoPro cameras of choice. Each camera offers a lot of different features to the skier on the slopes.
In essence the Hero 10 has a greater choice of frame rates to select from in video mode. The Max 360 by definition allows you to record video in 360 mode and further process the footage by reframing content using the GoPro Quik app.
Which of these 2 GoPro cameras would I choose to take skiing if I had to choose one? Well, have a read of my article on the best GoPro for skiing to find out.
GoPro Mounts
A GoPro isn’t a lot of use without mounts, especially on the ski slopes and in the mountains. So let’s take a look at the range of mounts I use to create content while skiing.
Jaw Flex Clamp
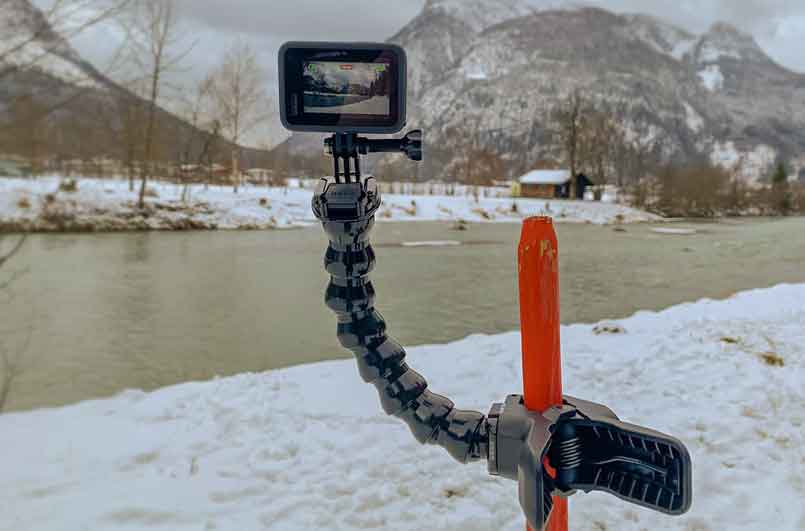
This isn’t a body mount but a way of clamping the camera to objects in and around the ski slopes and mountains.
Combining the flex clamp with a Gooseneck provides you with a solid base to position the camera for static shots such as time-lapse video of sunrises, cloud formations and such like.
It’s a great piece of kit to have with you on a ski trip that really adds production value to your GoPro ski videos.
I don’t tend to take the clamp with me onto the slopes as it’s quite bulky. I prefer the Swivel Clip Mount for on-body mounting while skiing which we’ll look at next.
Magnetic Swivel Clip Mount
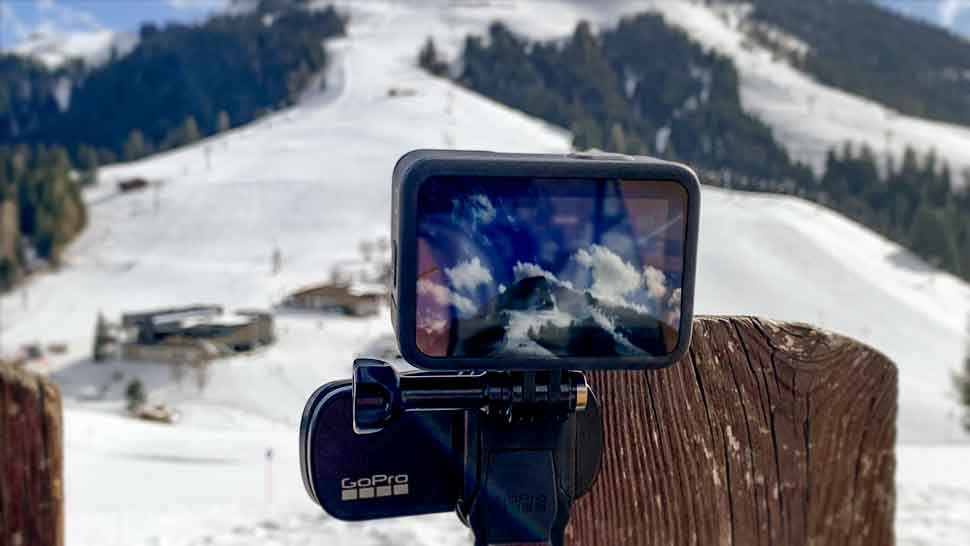
This is arguably the most versatile of the mounts out there. The jaws of the clip aren’t as heavy duty as the clamp mount we looked at earlier but it’s a lot more compact which means it can be carried with you while skiing.
I use this mount for a whole load of mounting options. Clipping the swivel mount onto a backpack strap is great for POV shots. I also use it as a ski stick mount, plus for time-lapse video by clipping to any static object such as a fence or even your own skis standing upright in the snow.
360 Degree Swivel Mount
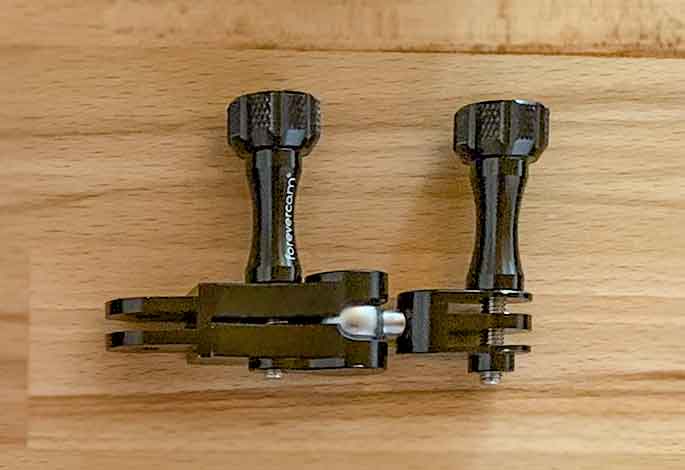
I’ve talked about this mount a number of times before, have a read of my ski stick mount article to see how this accessory opens up the opportunity to capture different camera angles on the slopes.
In essence, this mount attaches to any GoPro compatible mount via the 2 standard fit fingers you see all the time. This lets you attach the 360 degree swivel mount to ski helmets or ski sticks giving you the ability to orientate the camera lens to any angle.
Pole Clamp Mount
The “Old School” style clamp that attaches to any cylindrical object upto around 40 mm. I tend not to use this too much as I prefer the magnetic swivel clip. It is however a good back up as it’s small and cost effective.
Extension Arm
Attaching an extension arm to the pole clamp does add extra distance between you and the camera lens while using the Max 360. Doing so provides a wider angle shot when reframing 360 degree footage.
Adhesive Mounts
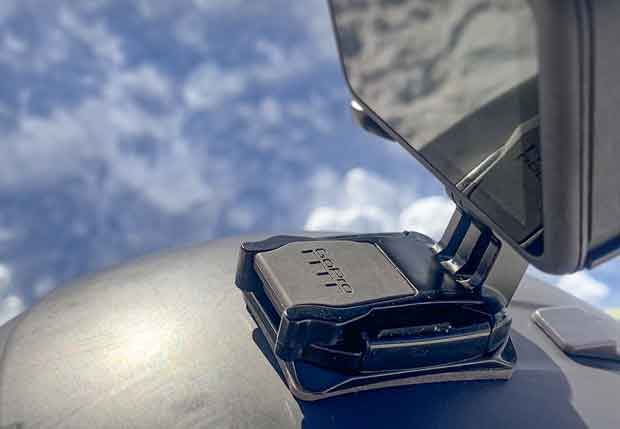
My suggestion here is to stick the adhesive mounts to your ski helmet and gear prior to heading into the mountains. I have 2 curved mounts stuck to my ski helmet.
As you can see from the picture of my flat lay of accessories I have some spare adhesive mounts, 1 flat and two curved, plus a bunch of 3M sticky pads stored inside an airtight plastic bag.
Tethers
Not so much for piste skiing, but if you’re heading out back country to ski some powder I suggest using a tether directly to the fingers of your GoPro.
Either the mount itself or if you have a later GoPro with fingers, slide a tether over one of the fingers as this makes a good anchoring point if the camera is subjected to force.
You can buy a pack of plastic coated stainless steel tethers at various lengths for not very much. Adding a carabiner as well so you can clip onto straps is useful too.
Selfie Stick
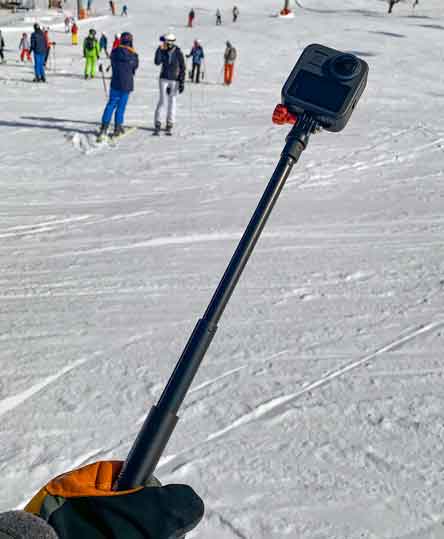
Along with the swivel clip, this is one of my most used accessories for recording video while skiing. I have 2 selfie sticks that I take with me of varying lengths.
The Telesin selfie stick which is the longest of the two allows me to get those “Fake drone” style shots with the Max 360. The Insta360 selfie stick is ideal for filming invisible selfie stick video shots.
Selfie sticks have so many uses while on the slopes to capture tonnes of different camera angles, not just selfies of course.
Having a lanyard attached to the base of the stick is important, especially when you’re filming on a chairlift. Those dynamic shots of you sat there while heading up the mountain are great fun, dropping your selfie stick in the powder below less so.
Shorty
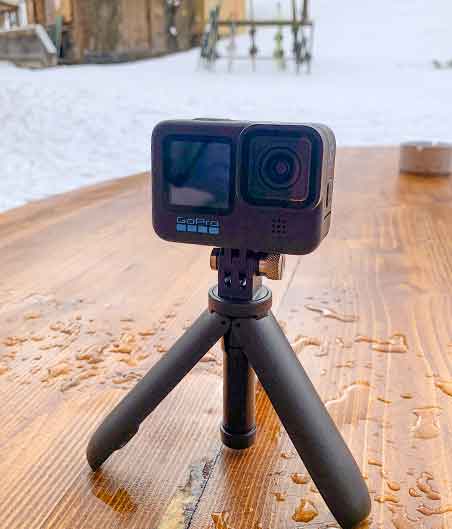
The shorty is a very small selfie stick which also folds open at the handle to offer a tripod. This is useful for placing on a table for recording time-lapse videos or perhaps a group photo set on timer delay.
It’s worth having a shorty with you as they are super light and compact and act as a backup for some of the other mounting options we;ve looked at earlier in this article.
Camera Media Mod
For those who like to vlog while on the slopes, the media mod is a must have to take with you. The built-in directional mic is very good in windy conditions, plus there’s a 3.5mm mic port to add an external mic.
You can also attach lights or LCD screens to the 2 cold shoes. One at the side and the other located on top of the Media Mod. Again this is great for recording pieces to camera as part of a vlog.
The final benefit of having the Media Mod is the ability to plug a USB-C cable into the camera without the battery compartment door being open.
This is great for recording time-lapse video outdoors for extended periods of time where you’ll need to plug into a power bank.
Batteries
A final mention goes to batteries. The more batteries you have the better. For filming in cold temperatures the Enduro rechargeable battery is worth considering for either the Hero 9 or 10 black.
A couple of Enduro batteries will keep your GoPro going all day in most cases. It’s always a good idea to keep GoPro warm when it’s not in use though to maximize battery life.
When it comes to the GoPro Max, the standard battery performs well in cold temperatures. I rarely use 100% of battery charge throughout the ski day.
Unless the Max is powered up constantly on my ski helmet and I’m using voice commands to quickly capture footage as I make a descent.
In addition to batteries, I always take a powerbank with me on ski trips. Having a power bank gives you the ability of recording extended time-lapse or even night-lapse videos.
Windjammer – Microphone Cover
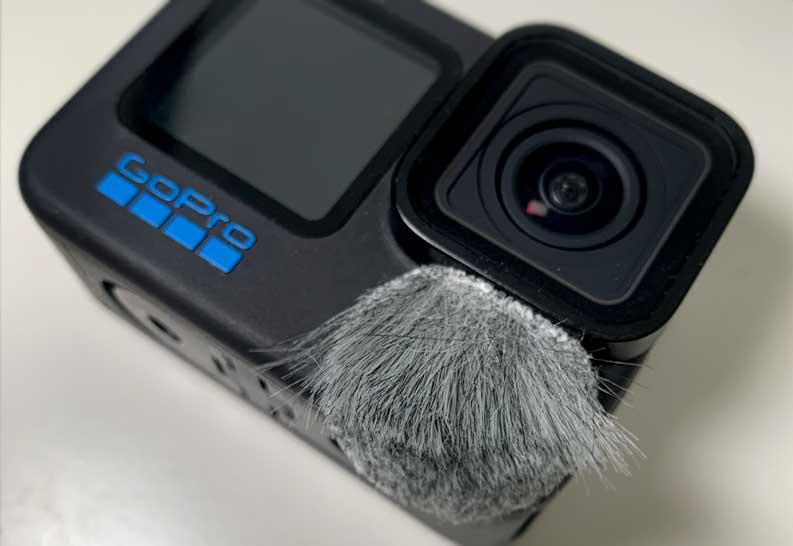
These furry little devices are a simple low cost solution to wind noise. Stick one of these windjammers from Rycote on your GoPro mic port and you’ll reduce wind noise while recording video on the mountain dramatically.
Final Thoughts
Of course this isn’t a definitive list of ski accessories but hopefully it’ll give you an idea of what to take with you on your skiing trip. You will need a bunch of micro SD cards too and perhaps a lens cloth is a good idea to have.
As with any kit list it evolves over time as we try new things and improve our filming and production techniques.
If you have any further kit that you use with your GoPro when skiing, please drop a comment below, I’d love to hear from you.
